Keeping your tile clean is a constant battle. Spills can splash all over the floor and settle into the tile grout, which can cause mildew to grow. The grout will look dark and grimy. After years of accidents making your tile filthy, it’s time to finally scrub away the grime.
So, what is the best course of action to tackle grime accumulation? Thankfully, here are four simple steps for how to refresh your tile grout. Your grout and tile will be vibrant when you’re done!
Step One: Start with Sweeping and or Vacuuming
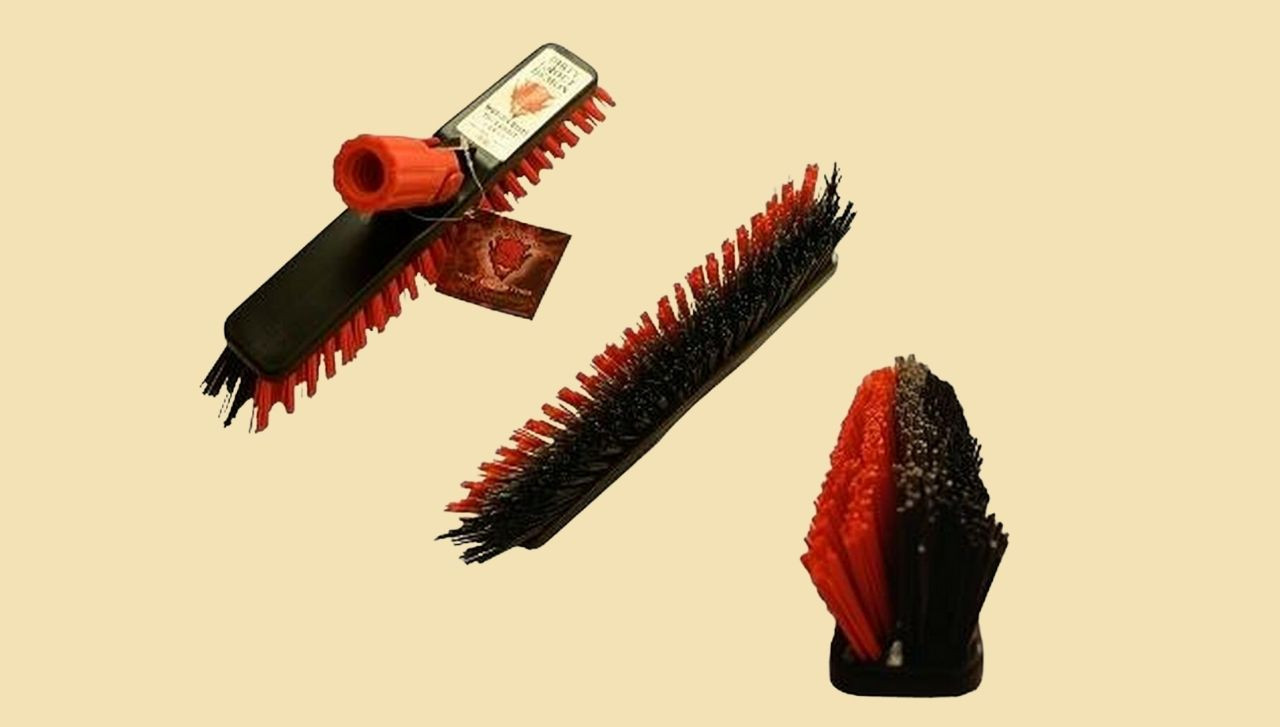
Removing dry abrasive, insoluble soil and fibrous material is the first step in any cleaning project. Use your grout-cleaning brush aid in dislodging any soils or contaminants, then sweep or vacuum them away before moving onto step two.
Step Two: Scrubbing
Use a professional cleaner and tile scrubber to clean your tile and grout. A deep-soaking cleaner will remove deep-rooted stains and mold while also brightening the grout. It’s important not to add new grout colorants or sealants over debris or mold since the mold on the stuff you’re cleaning will only spread to the new layer.
Once you’ve thoroughly cleaned the grout and tile, repair any broken grout and fill in any sparse spots and make sure the grout is thoroughly dry. This is one of the most necessary steps for how to refresh your tile grout efficiently and effectively.
Step Three: Prep the Tile and Paint
After you’ve repaired the sparse spots, place painter’s tape over the tile pieces, which will protect the tile from epoxy stain, colorant or sealer getting onto the tiles.. This can be tedious and time-consuming, but it’s an important step, so do it carefully.
The tape will help you make a perfectly smooth and refined grout line. Additionally, using the appropriate epoxy paint, colorant or sealant will keep pores shut and provide waterproofing.
Step Four: Clean Excess Grout
Once you’ve applied the epoxy, colorant of sealant to the grout, use professional tile-cleaning products to remove excess accumulation for great-looking grout lines.
Doing this will ensure you get pristine tile flooring while also keeping it sanitary and hygienic for years to come. Give everything a final examination to make sure you didn’t miss anything.
Keeping tile and grout clean is an essential part of staying sanitary. That’s why we at Clean Pro Supply provide high-quality commercial-grade products for every professional. We strive to help preserve the look and integrity of every client’s floor and tackle the most stubborn of stains.


